
This is the first of what will be many tutorials I will write especially for this blog. I'll try and keep them varied and hopefully throw one in at least once a week. I've always said that following tutorials can be the best way to learn to use Photoshop and there is never a lack of free Photoshop tutorials kicking about on the web. This tutorial will show how to make a stylish, call it a compilation, a photo compilation. Should be simple to follow and no previous knowledge of Photoshop is required. Lets go for it:
1. First off you will need to choose the photos you want to use, don't limit yourself this can be anything at all. For the purpose of this tutorial choose three and scale them to 150x300 pixels. The images I will be using are shown below.


2. Now open photoshop and create a new page of 650x450 then: edit>preferences>guides,grid and change the grid to: gridline every: 50 pixels subdivisions: 5 If the grid is not showing then tick: view>extras and view>show>grid

3. Okay, open up each of the images you are using and copy and paste them into this page, you will see that a new layer in the bottom right has been created for each image. Arrange the images as shown in the picture using the move tool in the left toolbar. Remember to turn snap on in: view>snap and view>snap to>grid

4. Now: layer>new>layer then set the foreground colour (small square at the bottom of the left toolbar) to a gray, I used #aaaaaa. Using the rectangle tool in the shapes subset of the toolbar draw a rectangle around each image snapping to the first gridline outside each image.

5. Hold ctrl and click on the small box next to layer 4 in the layers pallete (small ants should start marching round the rectangles you just made). Next go: select>modify>contract and contract by 3 pixels, OK then hit delete.

6. Now for the title, click the text button on the toolbar (big T) and draw atext box in the lower middle of the screen snapping to the grid. Just type your title or your name, even both if your wanting and center the text. You wont be needing the grid anymore so press ctrl+H to hide it.

7. New layer again, and click the gradient tool in the toolbar (it might be hidden behind the paint bucket). On the top bar click on the picture of the gradient, you can now choose two colours, harmonizing ones work better, m
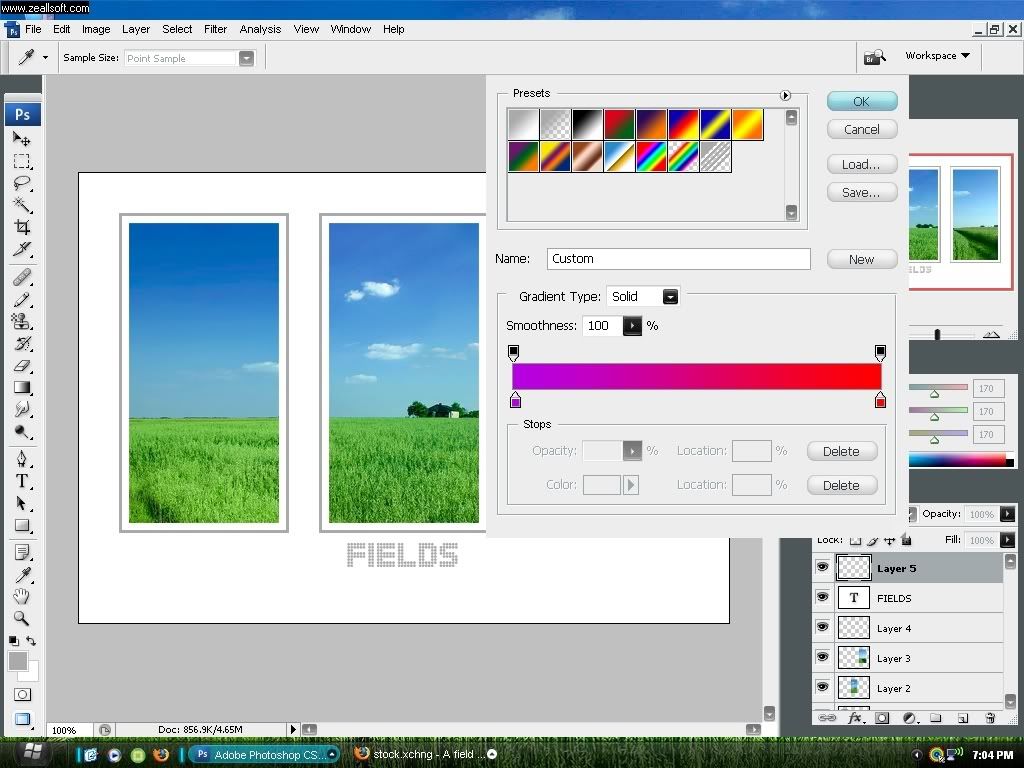 e? I chose purple and red. Click OK.
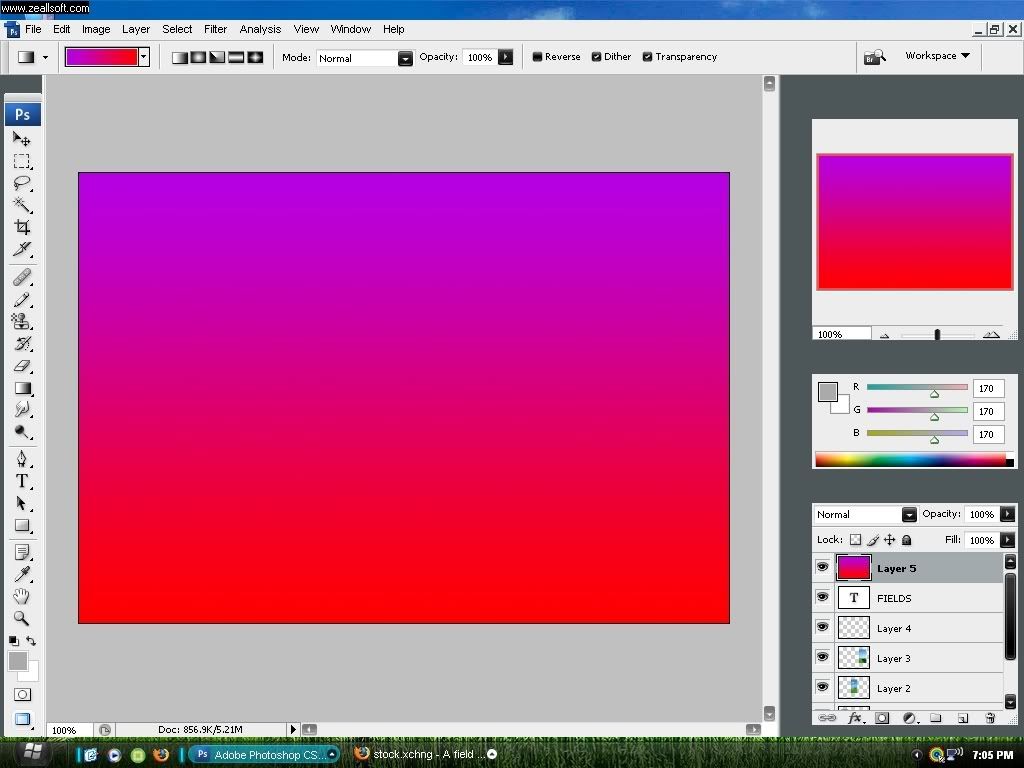
8. now click and drag from the top to the bottom or even from side to side. Next click on the blending mode for layer 5 in the layers palette, just above the word lock and change this to colour, the to the right of this lower the opacity to what you think looks best.
Here's my final image:


2 comments:
Hi!I would like to ask u about your tutorial. How did you copied and then pasted images? I don't get it(((
If i paste them they appear in new layer and i can't move them(
Best photoshop tutorial for the beginner.
Clipping Expert Asia
Post a Comment