Monday 12 May 2008

Photoshop Tutorials

I've decided to make a blog solely for original photoshop tutorials created by me.

Check it out here:

tutorials4photoshop

Friday 25 April 2008

new photoshop tutorials

Here's a wee taster of what will be coming up on my blog, at the moment I'm writing two tutorials as a sort of two part tutorial on making an image like the one below. One part will be on the main image and will cover using actions creatively the other part will be on the glowing lines and will cover using blending options creatively. This will be the first place I upload these tutorials to keep checking back or just subscribe, its easier. The tutorial will only require some basic Photoshop knowledge but wont be as simple as my other tutorial below. They should be up by the end of next week and this isn't is a post to miss!


Thursday 24 April 2008

advertising in sport

Advertising has taken over the internet, when will it take over football??


ps. spot the typo

Wednesday 23 April 2008

Firebug

I think one of the main reasons Firefox has has become more popular than Internet Explorer is due its large collection of plugins and the fact these these can be easily developed. We all go through a stage of going wild and downloading every plugin we come across, only to remove it two weeks later because our computer starts eating itself. However there are always a few which come in particularly useful, ones which have you chewing your leg every time you have to use Internet Explorer. One of my favorites is Firebug, an open source plugin for Firefox, which comes into its own when doing any type of web design. This plugin allows you you to edit, debug, profile and monitor the HTML, CSS and Javascript code in of any website within your browser, whats more you can do all of this in real time, without always having to reload the page. When viewing the HTML code on Firebug, it will colour code all the tags and arrange them in a way that even the most inexperienced coder could find their way around it. Another helpful tool included for HTML is the blue boxes that will appear on the page showing which part you are editing, for example, if you were to edit a form in Firebug a blue screen will appear over the form in the web page. Firebug is an essential tool for all web designers and would also come in useful if you were attempting to learn web coding. I wouldn't be surprised if this is one of the plugins integrated into future firefox releases, even a replacement or upgrade for 'view source code'.


Keyboard Design

Art. Lebedev, an industrial design company responsible for coming up with very creative solutions, have recently released the Optimus Maximus keyboard. This is something special, the keyboard, available at $460, contains a customizable interface, by this I mean you choose what each key displays. Thats right, each key on the keyboard contains a small color screen which can display any image, the action of this key can then be defined on the computer. This means that it can be set to display any language as well as other character sets like maths functions and HTML tags. Otimus Maximus also contains a few other goodies like an SD card slot for storage of layouts and two USB 2.0 ports. This idea will definitely pave the way for the future of keyboards. Keyboard layouts can be changed quickly by the press of a button, so for example, a normal layout can be set up for typing, containing the regular letter keys but switch to Dreamweaver and the keyboard can change to display HTML tags or for Photoshop can be changed to display useful hotkeys. Each key contains an OLED screen roughly 1x1cm, 48x48 pixels capable of displaying 65536 colours.
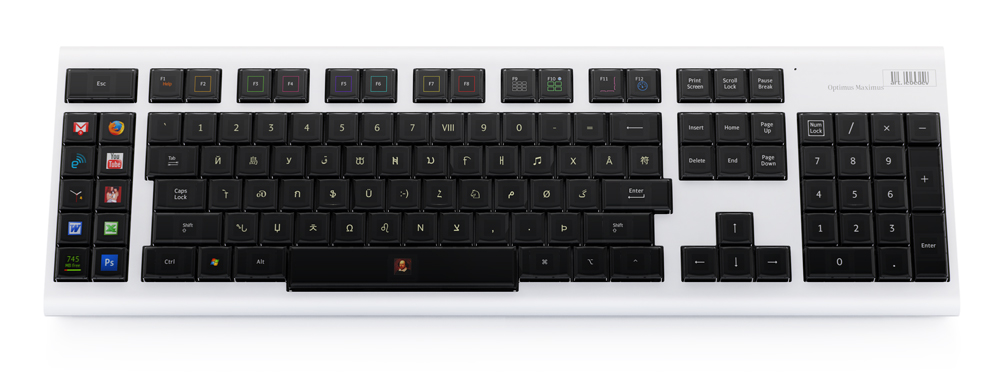
The same company have also designed the Optimus Tactus, a keyboard containing no physical keys, rather a touch screen which too can be customized fully .

Tuesday 22 April 2008

beginner photoshop tutorial

This is the first of what will be many tutorials I will write especially for this blog. I'll try and keep them varied and hopefully throw one in at least once a week. I've always said that following tutorials can be the best way to learn to use Photoshop and there is never a lack of free Photoshop tutorials kicking about on the web. This tutorial will show how to make a stylish, call it a compilation, a photo compilation. Should be simple to follow and no previous knowledge of Photoshop is required. Lets go for it:

1. First off you will need to choose the photos you want to use, don't limit yourself this can be anything at all. For the purpose of this tutorial choose three and scale them to 150x300 pixels. The images I will be using are shown below.


2. Now open photoshop and create a new page of 650x450 then: edit>preferences>guides,grid and change the grid to: gridline every: 50 pixels subdivisions: 5 If the grid is not showing then tick: view>extras and view>show>grid


3. Okay, open up each of the images you are using and copy and paste them into this page, you will see that a new layer in the bottom right has been created for each image. Arrange the images as shown in the picture using the move tool in the left toolbar. Remember to turn snap on in: view>snap and view>snap to>grid


4. Now: layer>new>layer then set the foreground colour (small square at the bottom of the left toolbar) to a gray, I used #aaaaaa. Using the rectangle tool in the shapes subset of the toolbar draw a rectangle around each image snapping to the first gridline outside each image.


5. Hold ctrl and click on the small box next to layer 4 in the layers pallete (small ants should start marching round the rectangles you just made). Next go: select>modify>contract and contract by 3 pixels, OK then hit delete.


6. Now for the title, click the text button on the toolbar (big T) and draw atext box in the lower middle of the screen snapping to the grid. Just type your title or your name, even both if your wanting and center the text. You wont be needing the grid anymore so press ctrl+H to hide it.


7. New layer again, and click the gradient tool in the toolbar (it might be hidden behind the paint bucket). On the top bar click on the picture of the gradient, you can now choose two colours, harmonizing ones work better, m
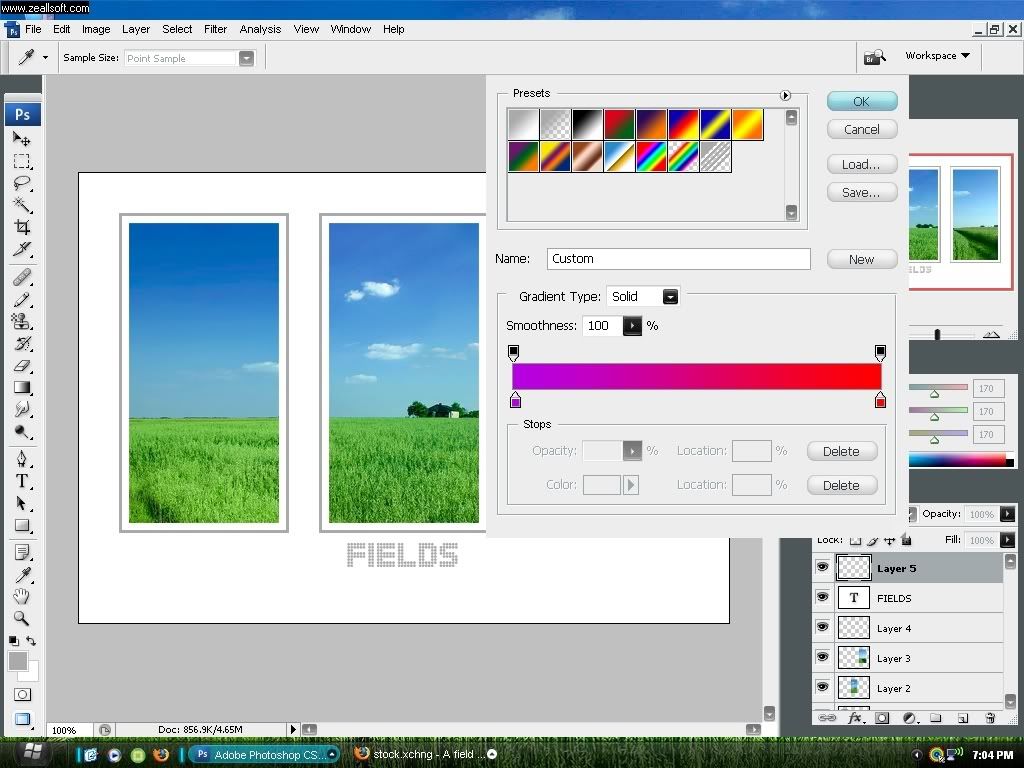
e? I chose purple and red. Click OK.
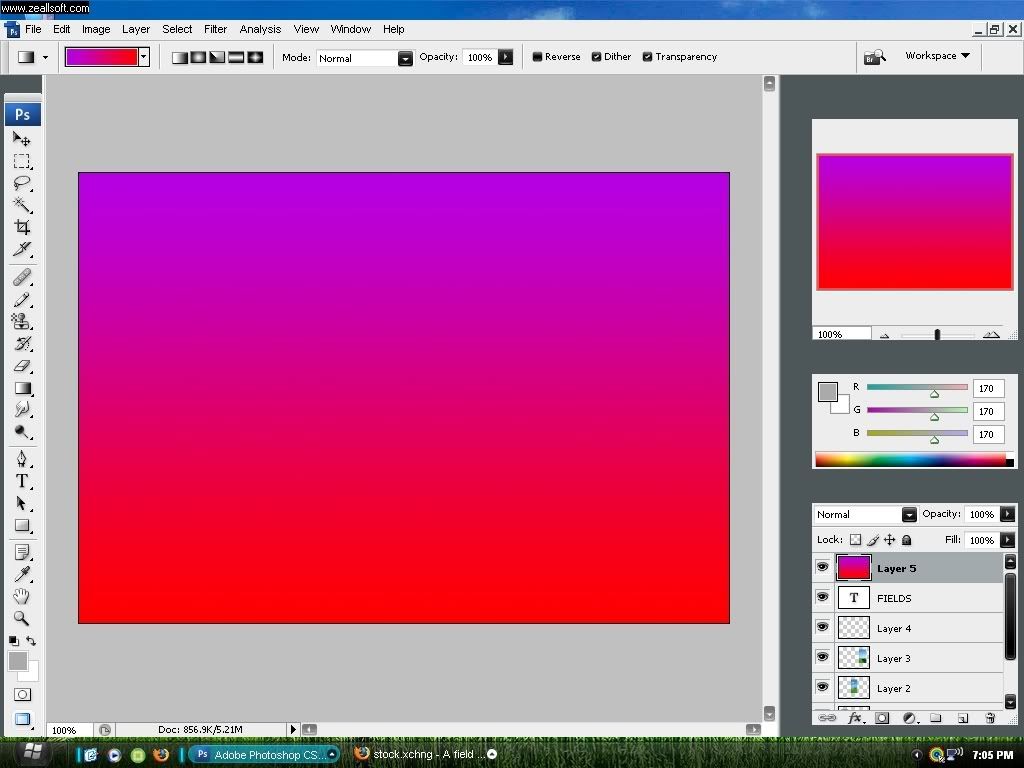


8. now click and drag from the top to the bottom or even from side to side. Next click on the blending mode for layer 5 in the layers palette, just above the word lock and change this to colour, the to the right of this lower the opacity to what you think looks best.


Here's my final image:

origami

The Japanese art of paper folding. These are made solely of dollar bills, thats right; no glue, no pritt stick, not even duck tape. Wow and I thought my paper aeroplanes were good.