Here's a wee taster of what will be coming up on my blog, at the moment I'm writing two tutorials as a sort of two part tutorial on making an image like the one below. One part will be on the main image and will cover using actions creatively the other part will be on the glowing lines and will cover using blending options creatively. This will be the first place I upload these tutorials to keep checking back or just subscribe, its easier. The tutorial will only require some basic Photoshop knowledge but wont be as simple as my other tutorial below. They should be up by the end of next week and this isn't is a post to miss!
Friday, 25 April 2008
new photoshop tutorials
Thursday, 24 April 2008
Wednesday, 23 April 2008
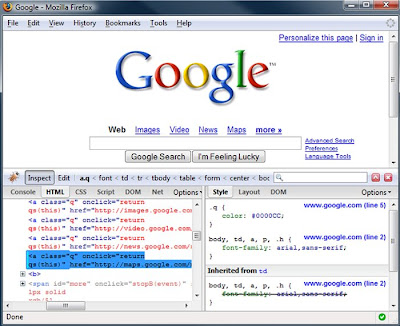
Firebug
Keyboard Design
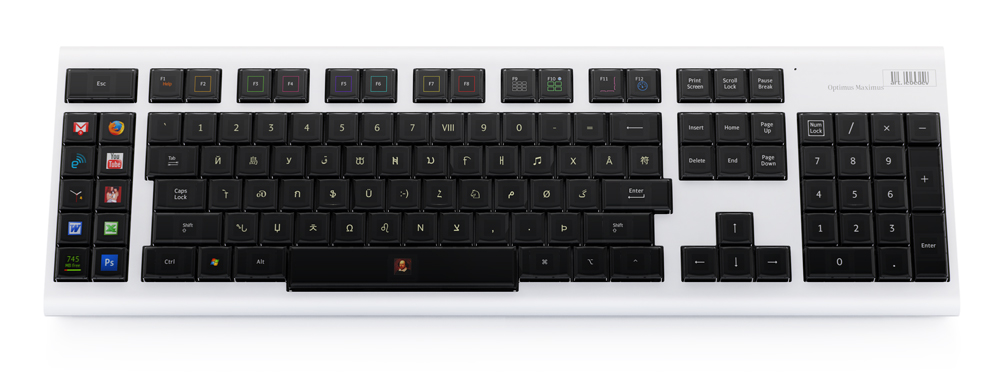 The same company have also designed the Optimus Tactus, a keyboard containing no physical keys, rather a touch screen which too can be customized fully .
Tuesday, 22 April 2008
beginner photoshop tutorial
1. First off you will need to choose the photos you want to use, don't limit yourself this can be anything at all. For the purpose of this tutorial choose three and scale them to 150x300 pixels. The images I will be using are shown below.


2. Now open photoshop and create a new page of 650x450 then: edit>preferences>guides,grid and change the grid to: gridline every: 50 pixels subdivisions: 5 If the grid is not showing then tick: view>extras and view>show>grid

3. Okay, open up each of the images you are using and copy and paste them into this page, you will see that a new layer in the bottom right has been created for each image. Arrange the images as shown in the picture using the move tool in the left toolbar. Remember to turn snap on in: view>snap and view>snap to>grid

4. Now: layer>new>layer then set the foreground colour (small square at the bottom of the left toolbar) to a gray, I used #aaaaaa. Using the rectangle tool in the shapes subset of the toolbar draw a rectangle around each image snapping to the first gridline outside each image.

5. Hold ctrl and click on the small box next to layer 4 in the layers pallete (small ants should start marching round the rectangles you just made). Next go: select>modify>contract and contract by 3 pixels, OK then hit delete.

6. Now for the title, click the text button on the toolbar (big T) and draw atext box in the lower middle of the screen snapping to the grid. Just type your title or your name, even both if your wanting and center the text. You wont be needing the grid anymore so press ctrl+H to hide it.

7. New layer again, and click the gradient tool in the toolbar (it might be hidden behind the paint bucket). On the top bar click on the picture of the gradient, you can now choose two colours, harmonizing ones work better, m
 e? I chose purple and red. Click OK.
8. now click and drag from the top to the bottom or even from side to side. Next click on the blending mode for layer 5 in the layers palette, just above the word lock and change this to colour, the to the right of this lower the opacity to what you think looks best.

Here's my final image:

Monday, 21 April 2008
Typography
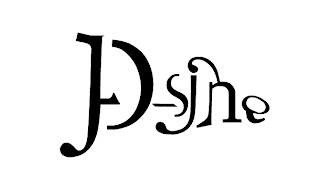 www.typeisart.com
Sunday, 20 April 2008
adobe design achievment awards 2008
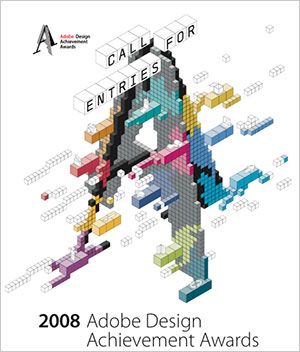
ADAA is nearly up for another year, in fact submissions close on the 2nd of May. For those not familiar, ADAA is a yearly competition open to students all over the world which showcases design project created using Adobe software, not to mention giving away great prizes. I'm always attracted to this competition because of the diversity in art produced, anything from animations to photography is accepted. This got me browsing through a few of last years winners again, here are a couple that stood out to me: Environmental Graphics and Packaging and Digital Photography
Saturday, 19 April 2008
Pilot
The other day I was browsing through an interior design magazine in the book shop (didn't buy it just browsing). It got me thinking though, as I turned the pages I tried to identify which images were computer generated and which were photographs. I have to admit, even though I've got a few hundred years of CAD experience under my belt, that distinguishing between virtual reality and reality is not easy nowadays. The simplicity of creating realistic renders comes from the fact that its the same process you would go through when taking a photograph, you know: choose your camera, set it up, adjust the lighting, then let the machines do the rest.
Lets play a game, call it an icebreaker. Three of the images below are computer generated renders from CAD packages, but one of them is a photograph. Spot the odd one out, Should be a poll kicking about for this one.
Image number 1:
Image number 2:
Image number 3:
Image number 4:
Mmm... tricky isn't it


